By the time New England reaches late November, Fall is in full swing. In my area of New England, the leaves are practically gone from the trees. Bare trees will cover the landscape until mid-May when the new leaves start their lives.
This time of year always makes me want to cook “fall favorites” as I call them. Pumpkins, apples, squashes, nuts, etc fill my kitchen. And this weekend’s recipe was not exception. This one included two “fall favorites”: butternut squash and apples! Not much else would say “fall recipe.”
Here it is! The recipe review you’ve ALL been waiting for — at least I hope!
On Sunday afternoon, I made IG’s Banana Chocolate Crumb Cake and let me just say, it did not disappoint.
In the post announcing that this would be the recipe I would make this weekend, I said that the headnotes for the recipe were two sentences. After making it, I can see why Ina did that. The taste of this cake speaks for itself!
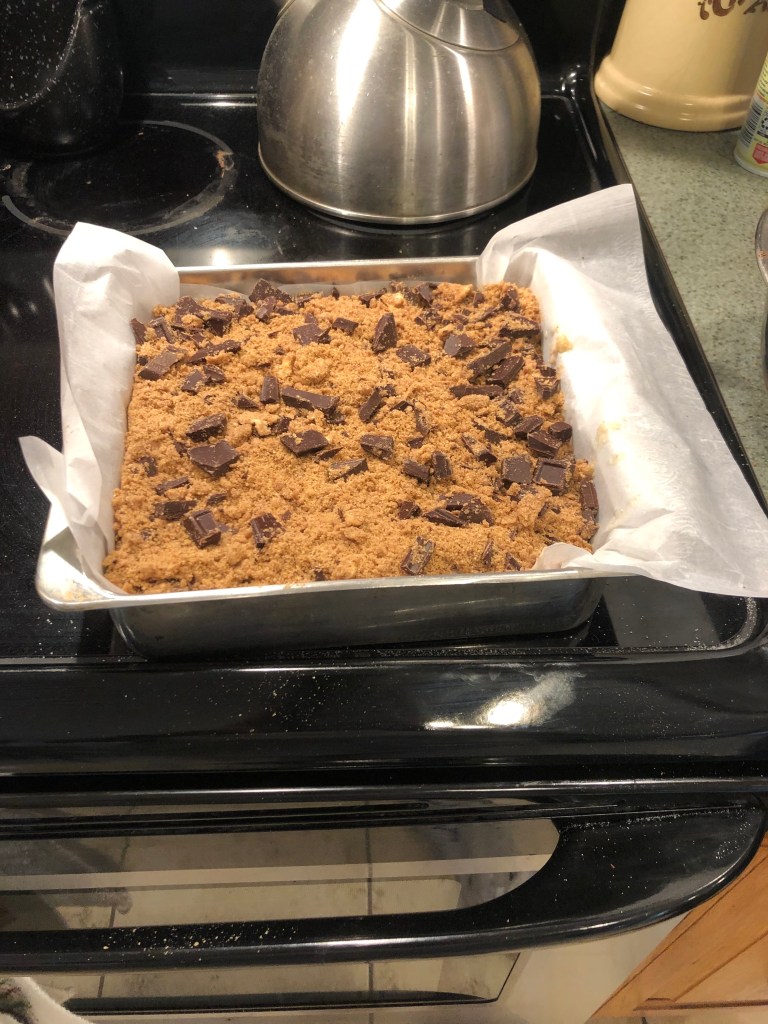
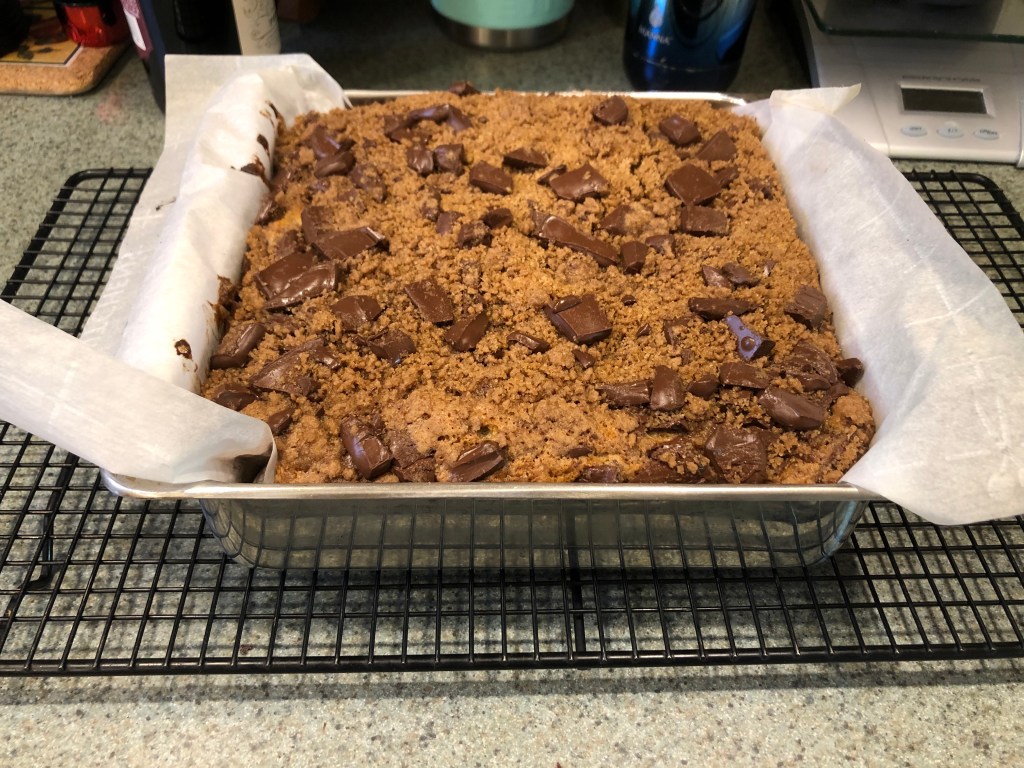
Following that pattern, this post will be short and sweet. Below is a photo of the finished product. I highly, highly, highly recommend you try this for yourself.
The cake before going into the oven.The cake while cooling.
While I used the recipe out of Make it Ahead, this recipe is included in ALL of Ina’s cookbooks. It is the same recipe, regardless of which cookbook you use. Also, since it is repeated in each book, it will only be counted as one recipe. For more information on how I determined the number of recipes I will be making for this project, please see my first couple of posts. These can be found using the Archive feature on the homepage.
I finally did it!
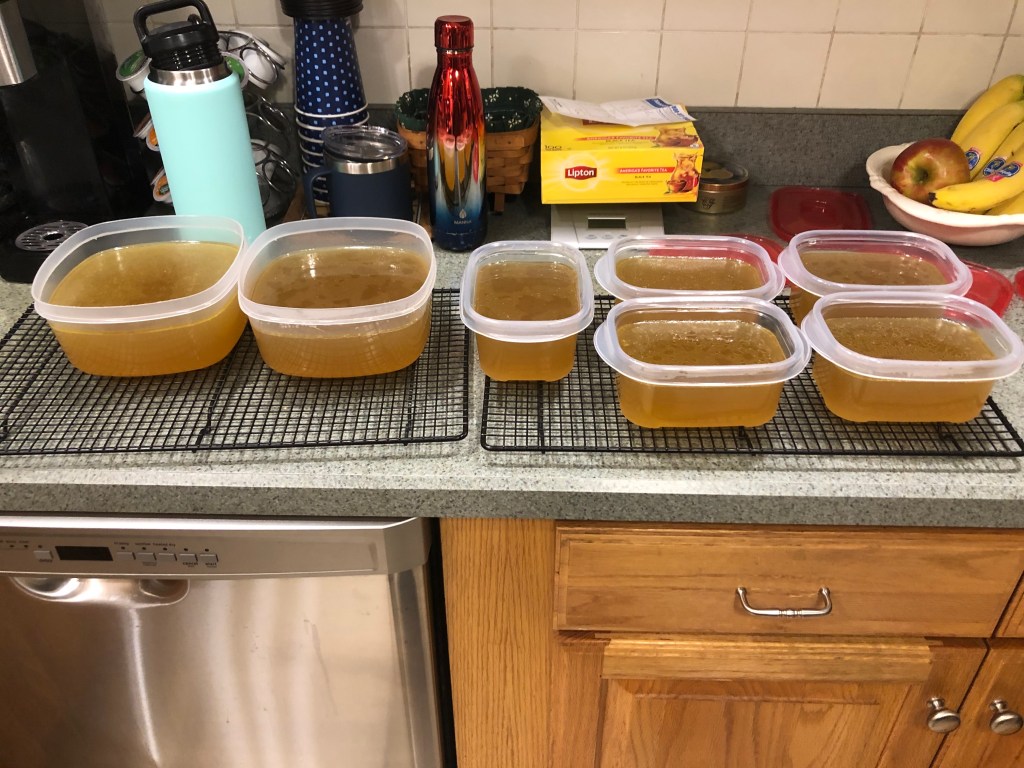
I made Ina’s Homemade Chicken Stock recipe! This is something I’ve been wanting to do for a few years and I finally had a chance to do it. I will say, that buying stock at the store is so much easier….and worth it! But, I’m still glad I had this experience. Now, I just need to use it all up within in the next six months!
I have a few photos that document the process that I will post below. But first, my review.
For the most part of making this recipe, things are easy. No peeling vegetables, no chopping or dicing. Just slice things in half and toss into the pot. Then bring it to a boil and simmer for four hours. However, it did take over over an hour to come to a boil even on high heat!
The real work starts AFTER the simmering. It’s when you have to strain everything. First I took a slotted remove to remove some of the larger pieces and that worked okay. I transferred everything into a stainless steel bowl and as it got full, I dumped it into a new garbage bag. That was tricky….and messy.
Once the larger pieces were removed, I poured the contents of the pot over a fine mesh sieve over another stainless steel bowl. More mess was met! Once it was cool, I took a one-cup measure glass and scooped up stock and poured it into the containers. That wasn’t very messy, but a little time-consuming.
After letting the stock cool completely, I put some in the freezer and left some in the fridge for now. I did taste the finished stock and, surprisingly, it was pretty bland. I know can see why Ina adds a lot of salt and pepper to her recipes that call for stock.
While it was fun and and interesting experience, I don’t think I’ll be doing it again. It’s very costly and time-consuming. Not to mention the mess it makes! Maybe, in the future, I’ll cut the recipe in half and make less….that may make things somewhat more manageable.
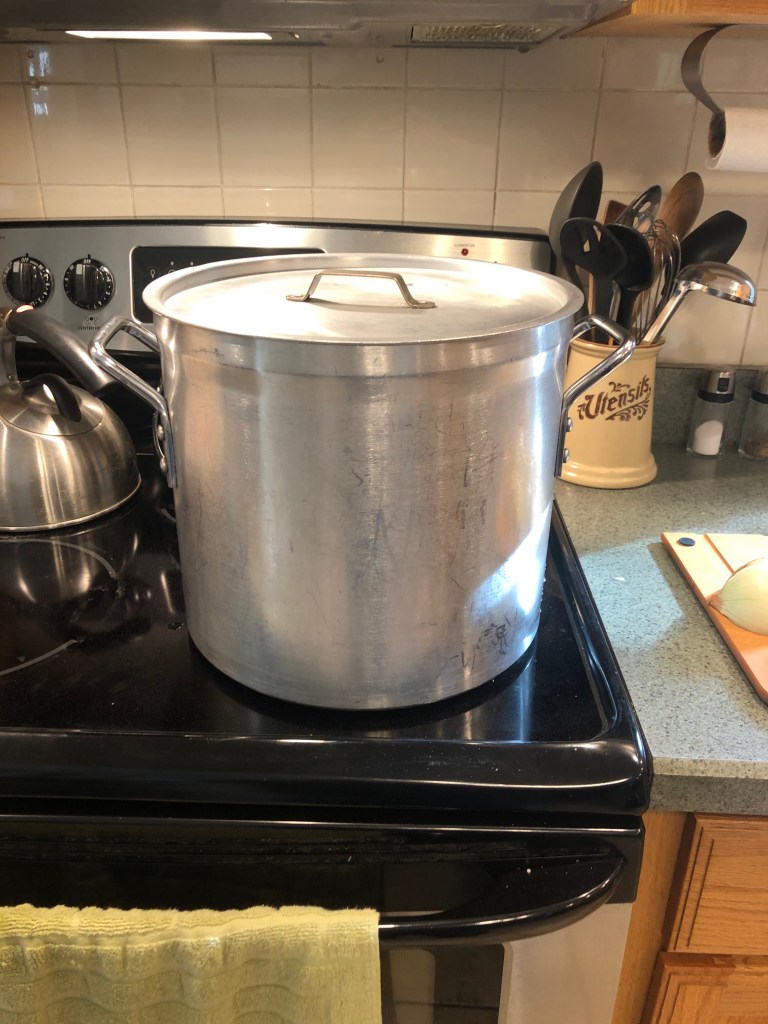
Here are the pictures with captions.
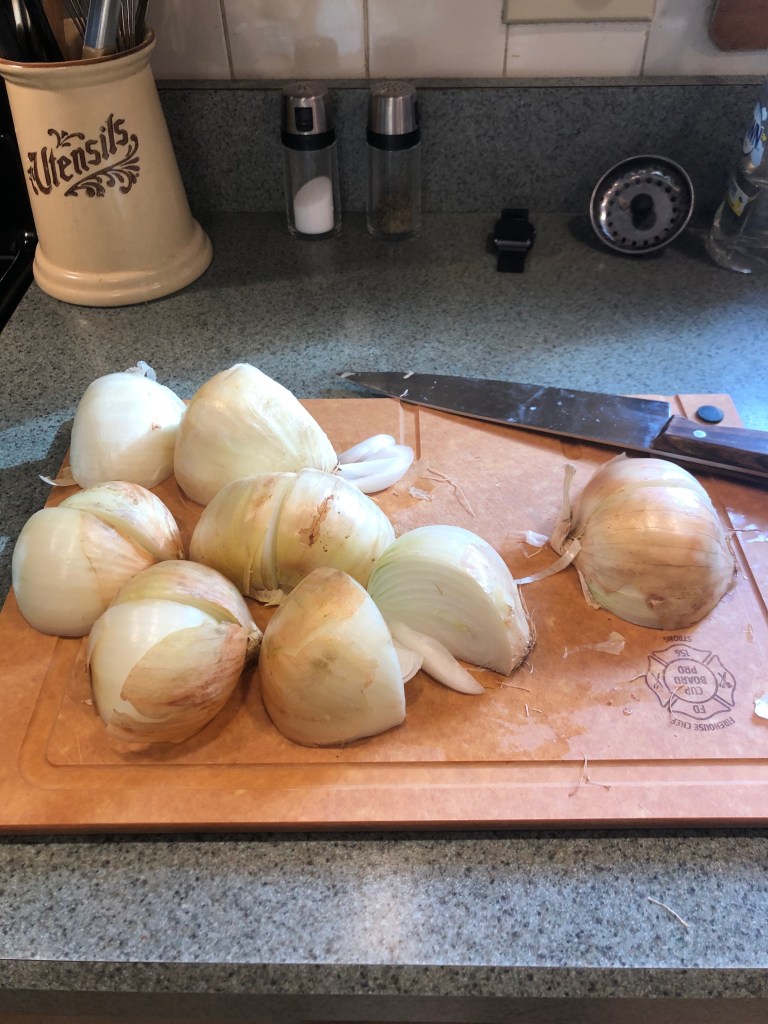
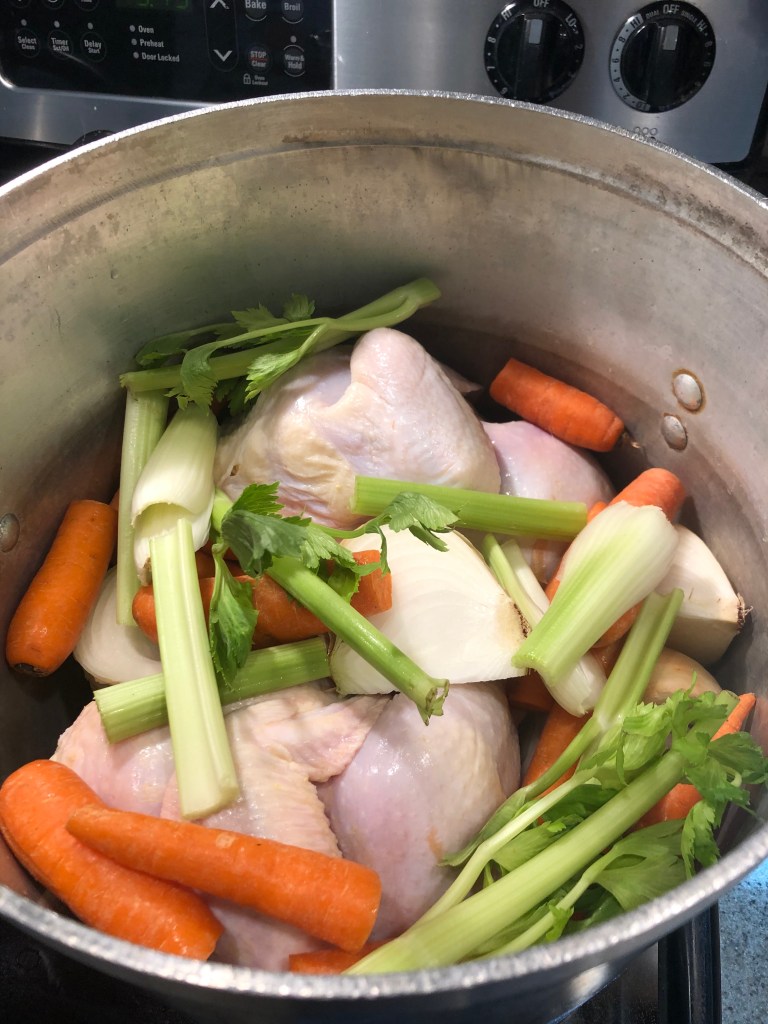
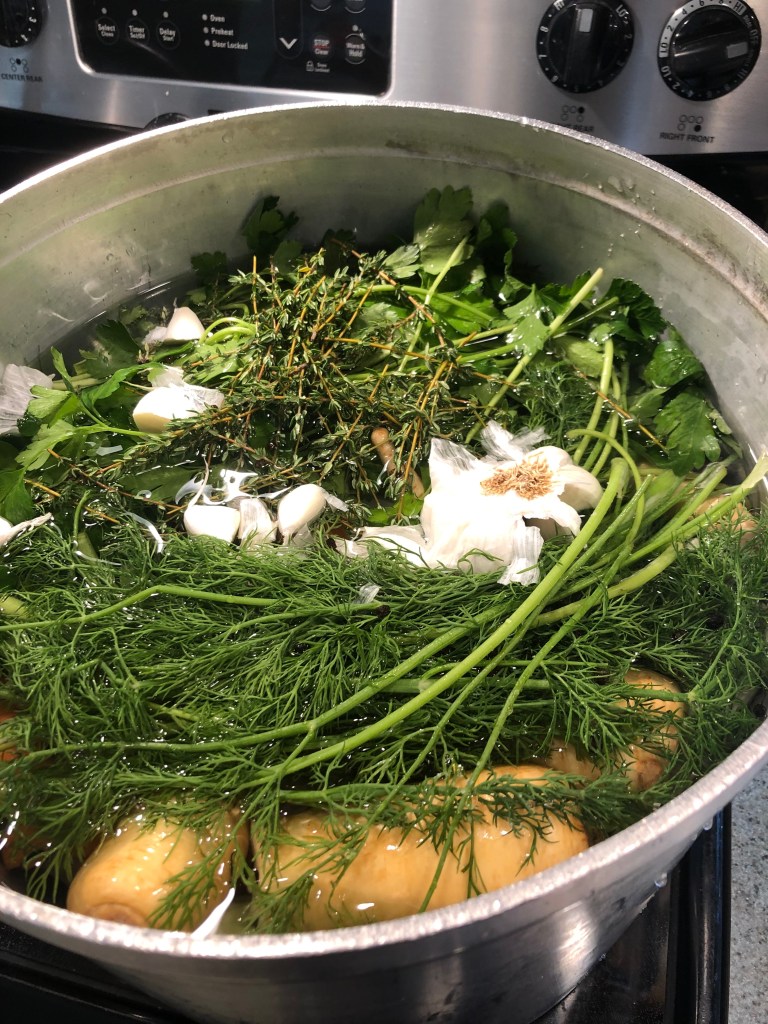
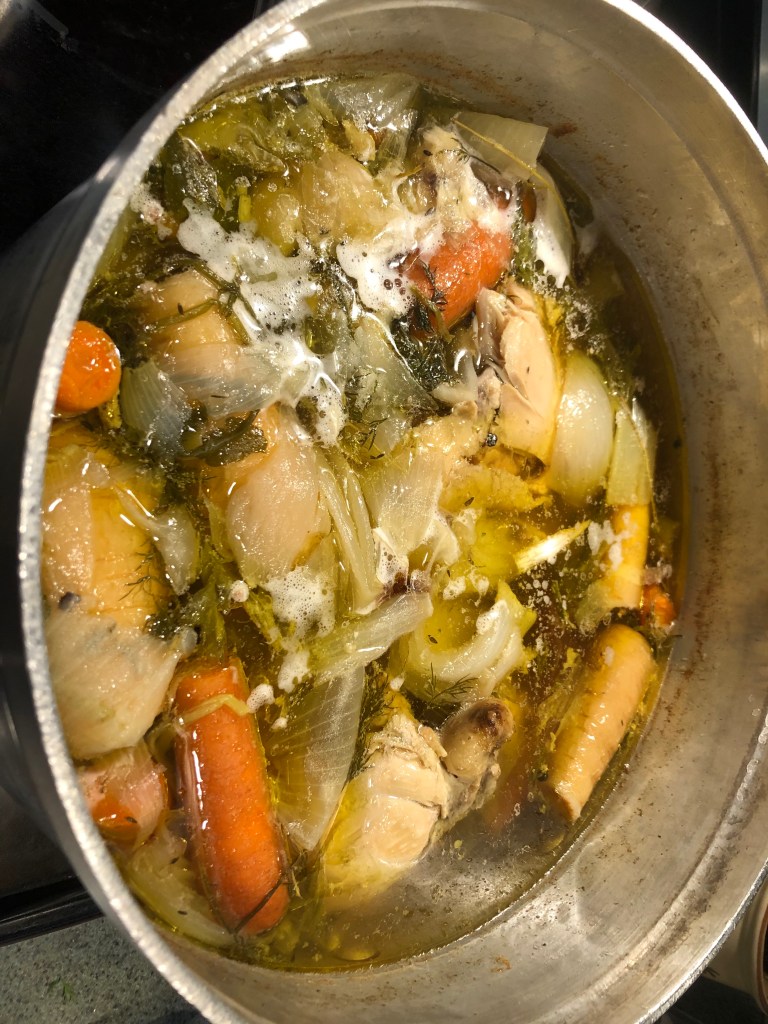
The pot I cooked it in! It’s 20 Quarts!The quartered onions that were used in the stock. I used three of the largest ones I could find.The two chickens I used (almost 15 lbs. of meat!) and some of the vegetables. Just missing the turnips in this picture.Added the 7 quarts of water, the herbs, and the whole head of garlic.The stock simmering away. Sorry this photo orientation is not like the others!Finally! The finished, strained, and packaged chicken stock!
I hope it turns out that this was worth the effort!
In addition to the Parmesan Chicken I made last Saturday, I made two side dishes. Both of which complemented the main course nicely.
The buttermilk mashed potatoes are amazing! As someone who doesn’t get to have mashed potatoes very often, these were a welcome addition the meal. The potatoes were so creamy and flavorful. The salt Ina calls for is a lot, but the potatoes do not taste overly salty. The addition of pepper merges all the flavors and makes for a very tasty side dish.
The Orange-Honey Glazed Carrots are hands down, the BEST carrot recipe I’ve come across!
Using ginger, honey, and orange juice to turn up the volume on these carrots was a great choice for the meal I made. But, it’s also a great recipe crafted by the great IG! In fact, my family loved these carrots so much that we will be making them for our small family gathering at Thanksgiving. I can see them making a regular appearance at the Thanksgiving table year after year.
They are also going to be the first side dish recipe added to my list of Favorites!
As I may have mentioned earlier, I will be taking this week off from cooking dinner. But that doesn’t mean I’m not going to make an IG recipe! I plan to bake this weekend, but not dessert! Probably muffins or scones. Both of those are types of food I haven’t attempted yet. Plus it’ll be a good excuse to tackle one of the Breakfast recipes!
Come back to the blog tomorrow to check out my review of Back to Basics!
One of the recipes I made for Saturday dinner was parmesan chicken. But, I have a confession to make. I bought the wrong cheese! Instead, I bought a combination of grated Pecorino Romano NOT Parmesan. So, since I kind of messed up the title ingredient, by review won’t be too long.
This recipe is very simple to make since it is essentially fried chicken cutlets. However, the addition of cheese to the bread crumbs is what really sets it apart. And if I’m being honest, I think the Pecorino Romano cheese added even better flavor than the parmesan would have.
I also decided not to serve this recipe with the recommended salads greens and lemon vinaigrette. But, it is still worth trying. It’s a simple meal than can be any night of the week and can easily accommodate and please a large group of friends.
Did I make sides for this? Yes, yes I did! I made two basic recipes: mashed potatoes and a separate carrot dish. Those reviews are coming tomorrow!
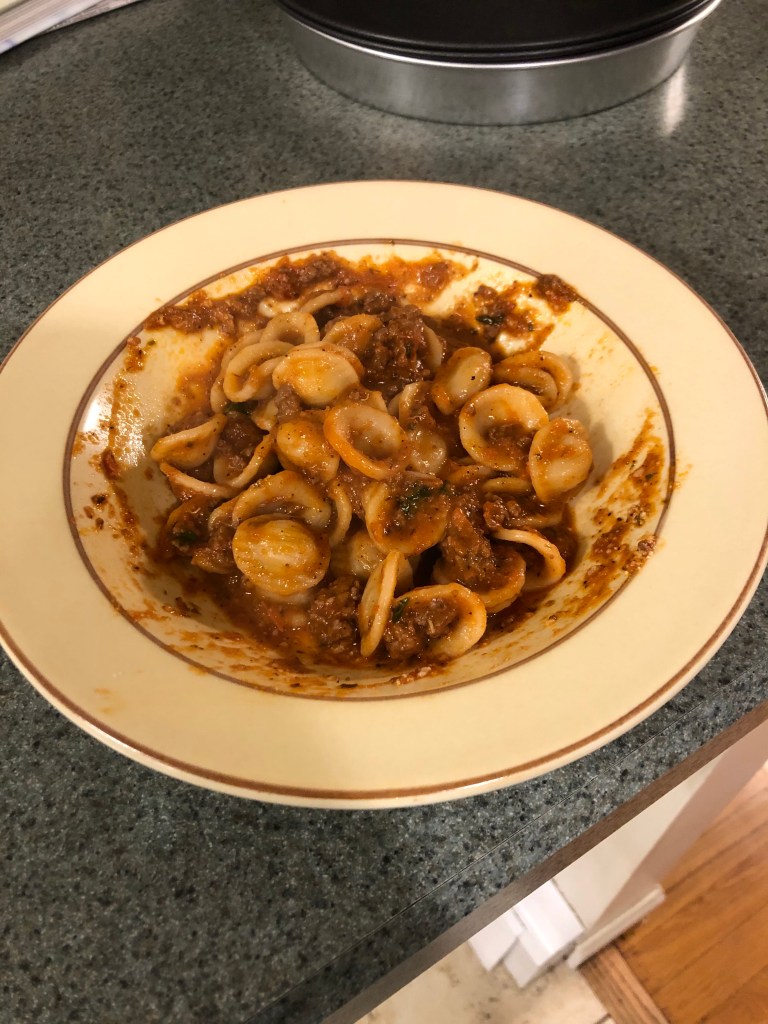
In the headnotes to the recipe, Ina says (and I’m paraphrasing) that everyone needs a quick, easy, and flavorful sauce recipe. And after trying her Weeknight Bolognese I think I’ve found it!
This recipe was super simple. It reminded me of the “old Ina” (which is the Ina I knew and loved before I started this blog) meaning that I always found her recipes to be easy. This sauce recipe came together in a little over 30 minutes but it tastes as though it cooked all day. It also seems adaptable enough to increase the amount made or to omit the beef to make a true marinara-style sauce.
The flavor in this recipe is the real hidden secret.
There are so many layers of flavor in this sauce. I never thought nutmeg in an Italian sauce would taste so good. That is just one of many different flavors. Since I did not have crushed red pepper flakes, I did a quick Google search to try to find something else. I substituted chili powder and I think it only intensified the flavor. Red pepper flakes aside, this recipes uses a lot of black pepper. Which seems to be a theme in Ina’s savory recipes.
Add in some heavy cream, oregano, basil leaves, and red wine and this sauce will surely be a winner for you as well!
I think this one needs to go on the Favorites Lists!
Excuse the messy bowl. This was taken right before I sat down for my second helping! Yes, I forgot to take one before eating my first serving…..forgive me. I’m trying to remember to take them and make them look halfway decent!
This recipe comes from “Barefoot Contessa Foolproof,” pg. 156.
The third and final recipe I made last Friday was a pasta dish! This served as the main course meal and was paired with recipe #11 (read the post here).
This recipe comes from Foolproof which, prior to the start of this project, was the cookbook I cooked out of most. I’m not really sure why, it just kind of happened that way.
Anyway, Straw & Hay with Gorgonzola is a dish that I’ve been wanted to make for a while. And let me tell you: it did not disappoint. This recipe is essentially a cream sauce-based pasta dish. But, I found it to be lighter and more flavorful than a traditional Alfredo style sauce.
The layers of flavor built into the sauce are what really make it stand out, in my opinion. In earlier recipes, I was using pancetta to add flavor but this one called for prosciutto. I have to say, I like pancetta better. It’s easier to work it and has more body to the taste than prosciutto. Another layer of flavor was basil that is added at the end, just before serving.
Unfortunately, I forgot to buy basil at the store. And now that we’re in October, all the herbs I had growing are dead. To compensate, I mixed in some dried basil. It, of course, didn’t do it justice. But it’s all I had to work with.
One of the highlights of this dish is gorgonzola used. Up until me making this recipe, I didn’t even know there were two types of gorgonzola! Did you? Apparently, there’s a creamy kind known as dolce. This is what is used in this recipe. The other kind, mountain is more peppery and crumbly. The dolce gorgonzola melted quickly and when mixed with the parmesan resulted in a flavorful sauce that could easily be used for other dishes.
Overall, this was one of the easier recipes that I made so far doing this project. I made the sauce while the pasta cooked, married the two and then served it with the salad.
Once again, I do not have pictures of the finished product. I’m still getting used to taking photos while I’m cooking and before I eat. Sometimes I forget that I’m doing all of this for the blog.
This recipe comes from “Barefoot Contessa Back to Basics,” page 88
The second of three recipes that I made on Friday was the side dish.
I decided to complement my main dish and the dessert, I wanted a nice Fall-themed salad. So, I found a salad that used both butternut squash and apple cider! Perfect!
Granted, I ended up serving this a bit differently than called for. The vinaigrette ended up being cool, not warm, but I’m not really sure I would like a warm dressing anyway.
Despite this dressing tasted yummy and complemented the roasted butternut squash, walnuts, and dried cranberries in the salad. I also discovered that arugula is NOT my favorite lettuce, so I may end up having to switch it out in the future. It seems like Ina uses arugula quite often.
If you are interested in making this dish, be warned that if you add the cranberries to your roasting pan for the last 5 minutes, like the directions state, you may end up with some burnt cranberries on your tray. But! It’s totally worth it. Who knew roasting dried cranberries would bring out the flavor??
Sadly, I do not have any photos of this salad…or even the main course. I get too excited to eat the things I make that I sometimes forget to snap a pic!
Last night, I made a three course meal for myself and my family.
This post will discuss the dessert course for that meal. The other two recipes will be featured in a separate post.
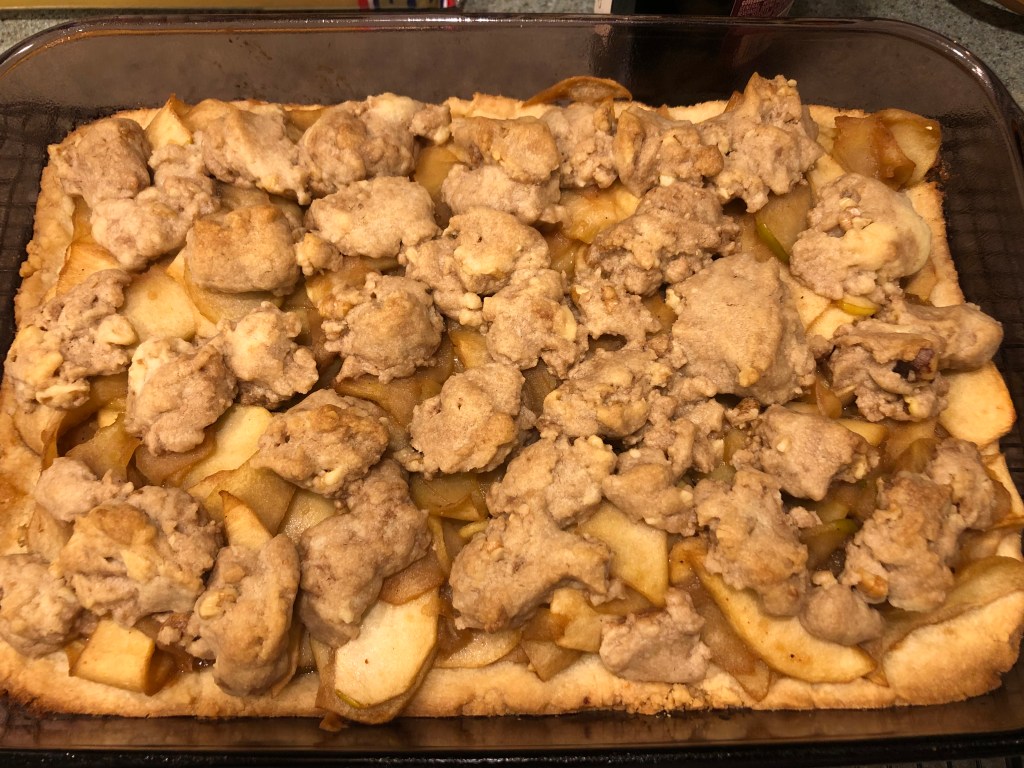
Apple Pie Bars were an easy choice since we are in the heart of apple season here in New England. Plus, the salad I made had notes of fall flavors, so I figured this dessert was a great way to carry-over that theme.
These pie bars are completely different than what I was expecting! Instead of a thin crust that is found in a traditional pie, this crust is a little bit thicker and more plump. It also had some hints of flavor, until a regular pie crust. Which makes sense, since the pie crust taste shouldn’t outshine the flavor in the pie.
What really got me was the apple mixture and the topping!
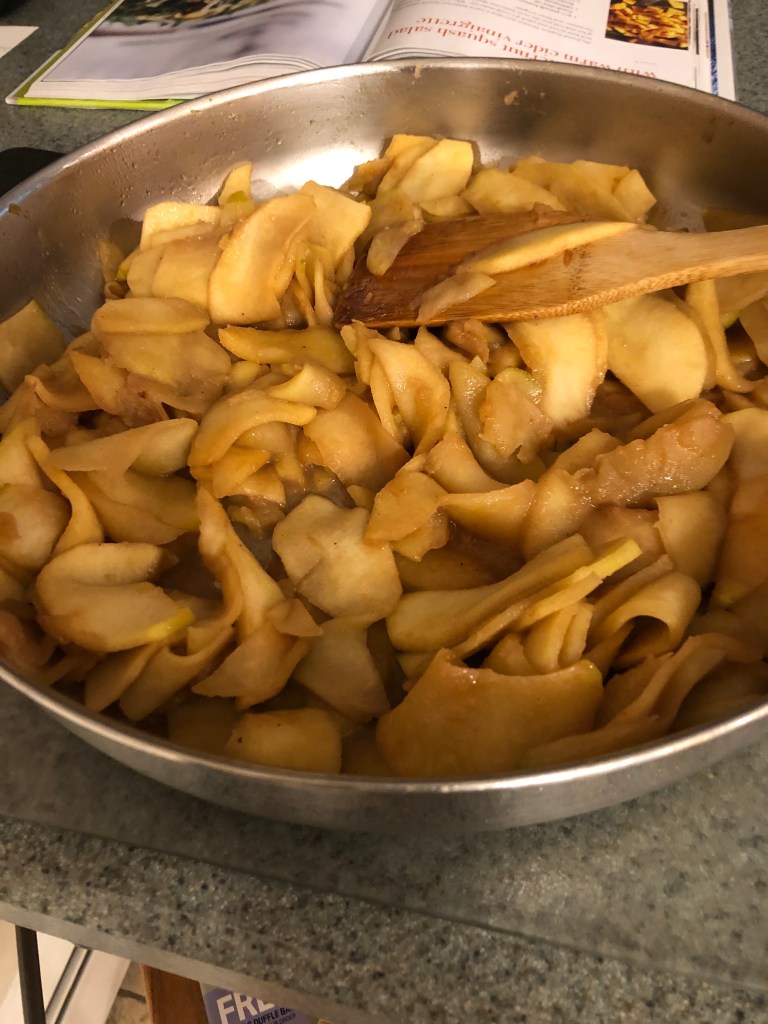
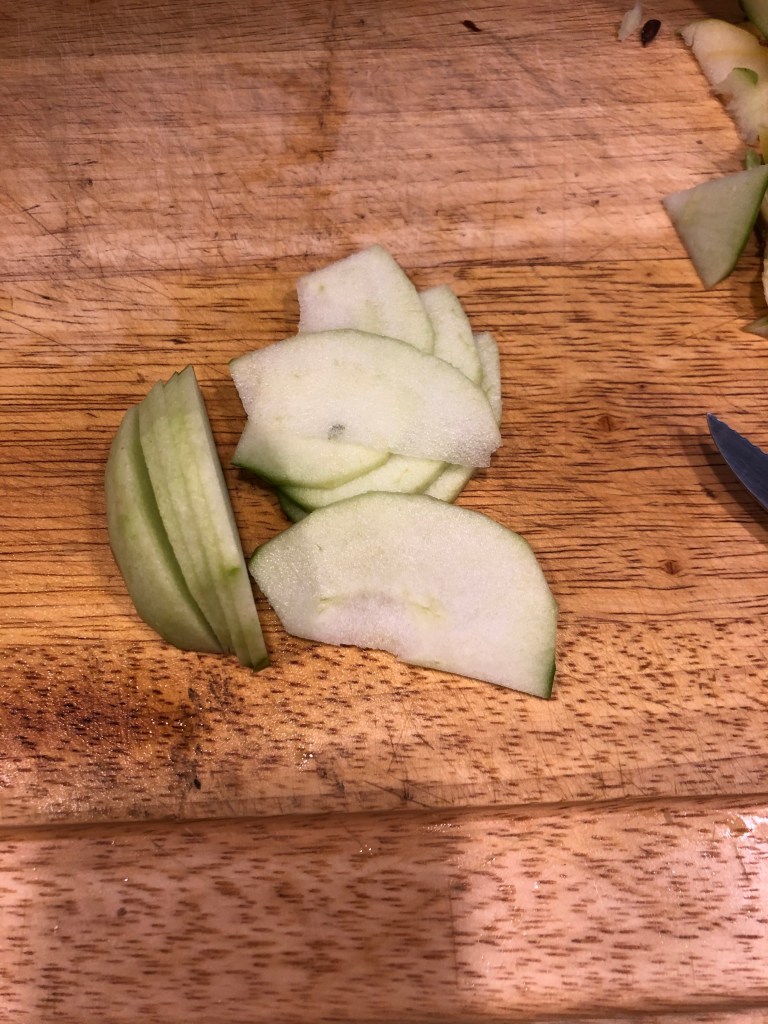
The recipe called for both Granny Smith and Golden Delicious apples. I think this was the first time I cooked with Golden Delicious. I think this combination worked really well and probably adds some subtle flavor differences had I used only one type of apple. Mixed with sugar, lemon juice, and other common “fall spices,” the mixture simmered on the stove for about 15 minutes and in no my house smelled of pie!
The topping is more like a crumb topping, but it’s the crust dough with the flavor turned up. I added cinnamon and chopped walnuts and boy did it make a difference! I think the topping is the best part of this dish! If I make it again, I’ll probably add some cinnamon to the bottom crust, too.
While this does a little time to make since you have to peel, core, quarter, and thinly slice 6 apples, I think it is worth it and a great option to a traditional apple pie! The apple mixture appears to work well as a base for a regular pie, too.
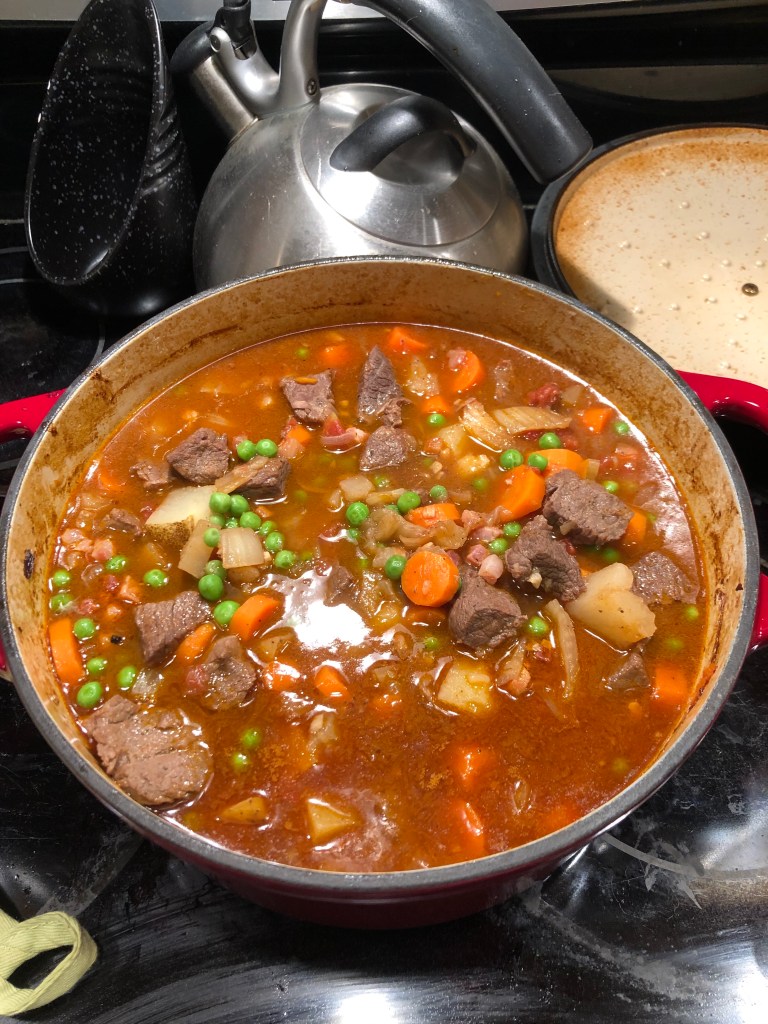
With the release of Ina’s latest cookbook last Tuesday, I knew that this week’s cooking HAD to feature a recipe from it. So, I decided on a classic: Ultimate Beef Stew.
Let me first say, that I am not usually a fan of beef in any capacity except a hamburger. I’m not really sure why. I guess it’s a texture thing for me. Like, I don’t think I’ve had a steak in like 6 years and even then it was while I was in college and had chicken-fried steak once a month.
So why would I make a beef stew as the first recipe out of the new cookbook?
Well, we already had the beef in the freezer, so my wallet got to keep some of its money. Also, the photos of the recipe in the cookbook are so enticing that I just had to make it.
And let me tell you: I wasn’t disappointed!
While the recipe did take longer to prepare than I thought because of all of the chopping and prep work, it was worth it! The stew cooks in the oven for over two hours, which allows the meat to cook properly without getting dried out. Both the meat and vegetables were so tender when it was ready.
There were some things about this recipe that I didn’t like. First, it would take quite some time to prep alone. I would say before you even put it in the oven, you need a good hour to an hour and a half to cut everything and cook what’s needed on the stovetop. Also, like many of Ina’s recipes, the stew had a strong pepper taste throughout. And I only seasoned the amount she recommended when she recommended to do so. In fact, it was so peppery that my nose started to run!
Eating the leftovers the next day did take out some of the overabundant pepper taste, which was great for me.
Overall, this recipe was a hearty one-pot meal that surprisingly had fewer dishes than expected.