Recipe #4 – Chocolate Pudding Cream Tart

Located in How Easy is That?

For my next recipe, I decided to make another dessert.

As you may recall, I purchased a tart pan from Williams-Sonoma last week and I decided that it was time to break it in! By the way, this recipe was made on Saturday morning, so I didn’t wait very long to give it it’s first use!

Ina has many tarts sprinkled throughout her cookbooks. Some of them are savory, but most are sweet, desserts. However, I wanted chocolate! So I found the Chocolate Pudding Cream Tart inside the How Easy Is That? cookbook. I gathered my ingredients and everything was going to plan, until one step…..

The recipe requires that you combine the scalded milk with the egg mixture in your stand mixture. Which went swimmingly: I poured the milk in slowly and had the mixer on stir so it wouldn’t scramble the eggs, which it didn’t. However, after doing that, Ina says you need to cook the mixture over the stove until it thickens. Her recipe says cook it for 5 to 10 minutes.

Well…I cooked it. But after 8 minutes on the stove with constant stirring, it had thickened a bit so I thought it was ready. I removed it from the heat and continued on with the recipe by adding the chocolate and butter and whisking until it turned into a nice chocolate-y pool of goodness!

(Or so I thought)

I then poured the mixture into the prepared tart pan with its cooked graham cracker shell, put the plastic wrap on it, and shoved it in the fridge to cool/harden. After about an hour, I checked on it and it was still pretty liquidy, but Ina says it will take around six hours to completing become pudding consistently so I didn’t worry too much.


However, when it reached Hour 5 and not much had changed I did begin to worry!

I didn’t want chocolate milk and I didn’t want to lose the whole thing, so I placed the tart pan in the freezer for the final hour.

It did freeze, but when I cut into it about 90 minutes later, I realized my problem. The custard didn’t cook long enough and thus thicken properly. I was so disappointed that this one didn’t work out. I was really hoping that my first experience making a tart would be a success.

Also, it was the first recipe that I was failed by Ina, I feel like. Prior to starting this blog, I made a few of her recipes here and there and everything always came out amazingly. But not this time. While I know this isn’t technically Ina’s fault, I am still disappointed. I think I am more disappointed over the fact that I feel like I have failed Ina.

However, I wanted this recipe to be good and turn out okay, so I’ve decided I’m going to make it again at some point. In fact, I already bought the chocolate. I just need to get the whole milk, which is a necessity when making this since anything but whole milk won’t cook and set properly.

So there you have it! My first “fail.”

But I plan to march onward and try again and continue to make more recipes. After all, this experience is so that I could learn something, after all!
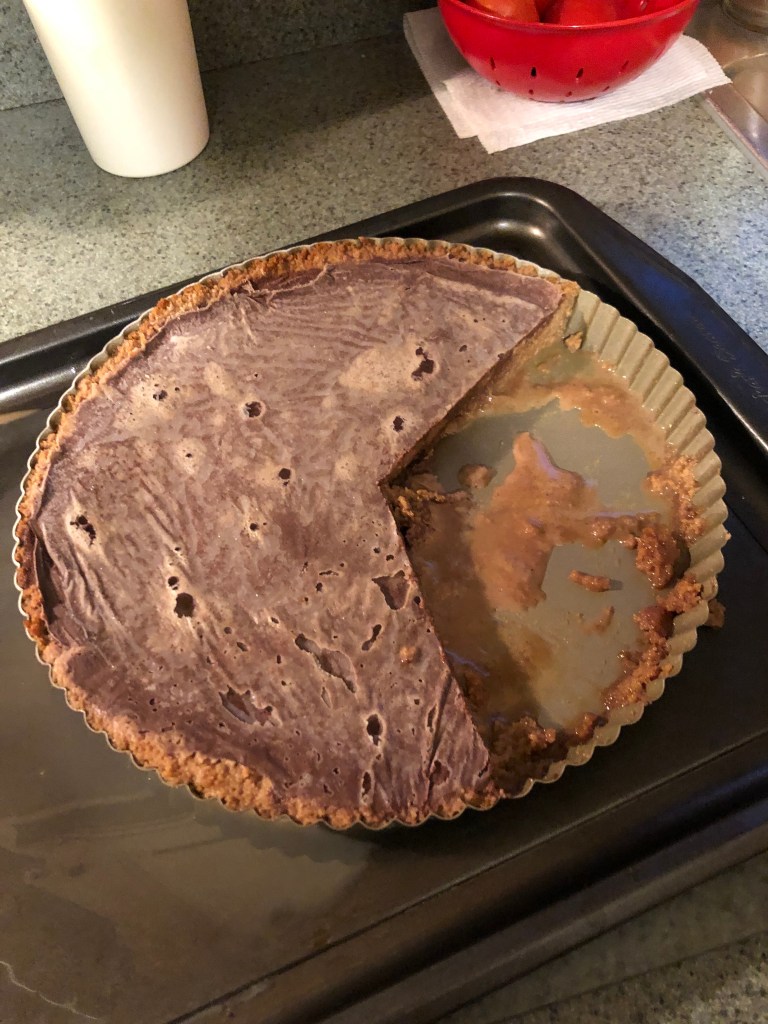
My “fail” or a chocolate cream pudding pie.

Recipe #3 – French Chicken Pot Pie

French Chicken Pot Pie from Make It Ahead

On Friday I decided to make another recipe from one of Ina’s cookbooks. The meal I made it for would be dinner so I paged my way through the “Dinner” sections of each of her eleven cookbooks until something caught my eye. I eventually found the French Chicken Pot Pie.

I went to the grocery store, found the leeks and mushrooms and opted for the a roll of the Pillsbury biscuit dough over the boxes of puff pastry as she suggested (I wanted to save a few bucks!), and I went home.

This was the first time that I can recall in which I cooked with leeks. And it was interesting. Every time I watch a chef on TV cook with leeks they say something like “You need to wash leeks really well because they are so sandy and dirty.” Remembering this, I was prepared for a mess of sand and dirt, but thankfully that wasn’t the case. These leeks were relatively clean and required only minimal additional cleaning.

The hardest part about this recipe was all the prep work. First you have to cook the chicken in the oven, then wait for it to cool to shred it by hand to get the pieces of chicken that will be “pie friendly.” Then you need to cut carrots, mushrooms, and the leeks into bite-sized pieces (half-inch dice). All of these cutting took some time and was probably the most time-consuming aspect of the recipe.

Finally, my mise en place was done and I was ready to cook. I followed the recipe diligently and when it came time to add the tarragon (after more knife work), the kitchen almost immediately smelled wonderful and I felt like I had just walked into a fancy-smanzy restaurant.

Ina’s original recipe calls to make individual portions of the pie in two-cup bowls that are oven-safe. While cute, it isn’t very practical. So I poured the mixture into a 13-by-9 baking dish and rolled the biscuit dough over it. I still brushed it with an egg wash and some salt and pepper, and it looked amazing!


While it baked, the house filled with wonderful smells of chicken, leeks, carrots, tarragon — and yes, Pillsbury biscuits.

Finally, the time came to eat the pie. I let it sit for a few minutes after removing it from the oven and it was worth it!

Upon having my first bite I immediately thought, “All the prep work was worth it!”

We had leftovers and I think the pie even tasted better the following day. Overall, it wasn’t all that much work (if you get over the chopping) and totally worth the effort!!

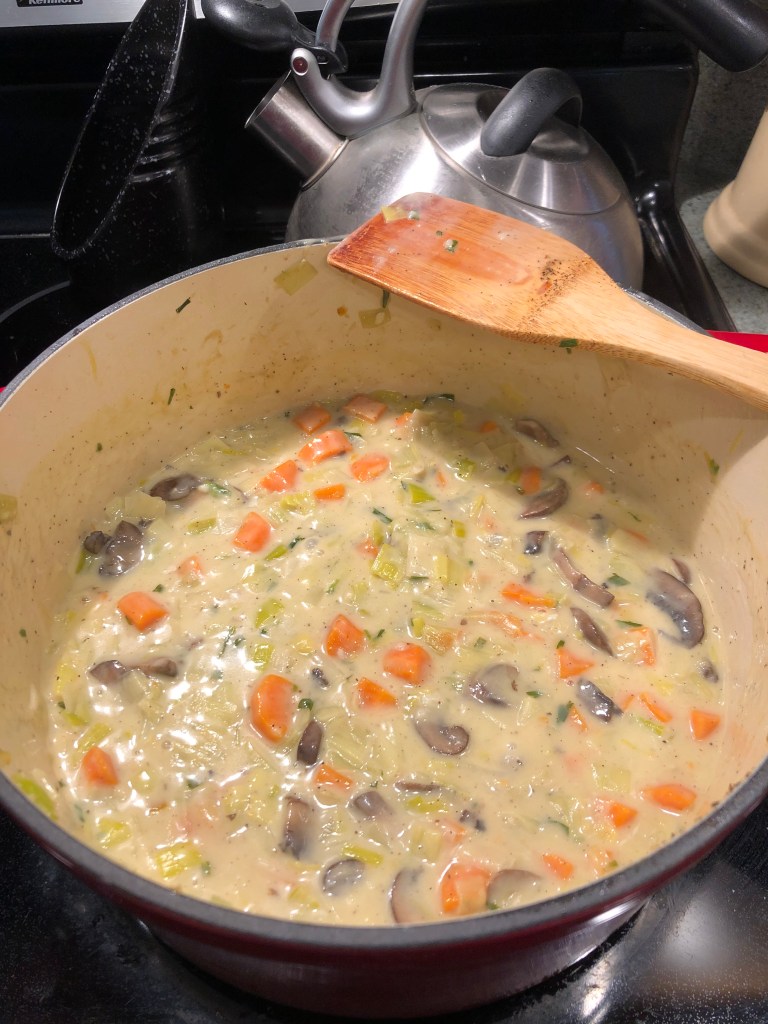
Sadly, the only photo I have of it is while the contents of the mixture was simmering on my stove, but the picture wouldn’t do it justice anyway. I highly recommend you try to this one for dinner soon.

Recipe #2 – Peanut Butter & Jelly Bars

Ina’s Peanut Butter and Jelly Bars from Barefoot Contessa At Home

Last night, on a whim I felt that I was in the mood to bake. So, naturally, I chose an Ina recipe. I figured since it was late and a weeknight it would be best and easiest to bake something from the “Dessert” sections of the cookbooks. I thumbed through each of the 11 books I currently own, narrowed it down to three top choices then picked from those three.

And the Peanut Butter & Jelly Bars won….mainly due to the fact that I needed a limited number of ingredients from the grocery store.

After heading to the local Big Y, standing in line for almost 10 minutes while the elderly woman in front of me took her sweet time loading her groceries on the cashier’s conveyor belt, I started baking.

Everything was going well until I got to the part where I had to add the flour. Ina calls for 3 cups of flour for this recipe. I had the flour, but it was a new bag so the flour was more compact than usual and I think I added probably an extra tablespoon or two just because the flour was too packed in the cups.

This recipe looks easy, but peanut butter is hard to handle and I learned that cleaning up anything that had peanut butter in it can be challenging! Also, due to the my inclination that the mixture had too much flour, the dough itself was hard to spread.

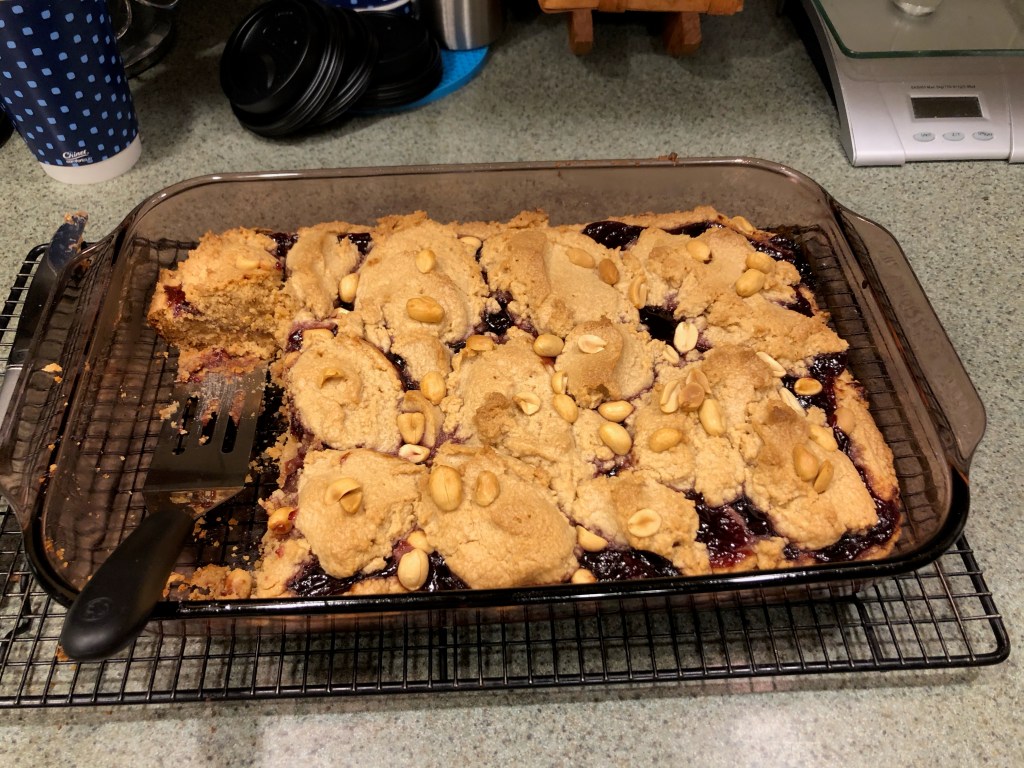
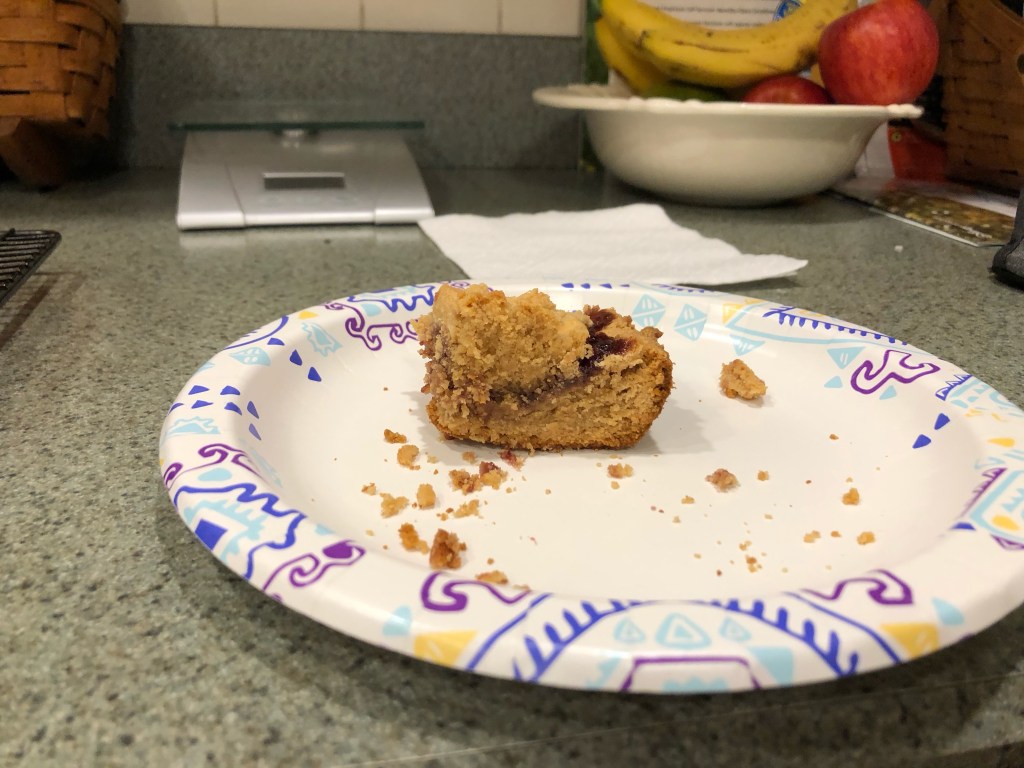
It was more annoying than hard to make these. But after they baked and cool, I was impressed! They were so sweet and delicious and I doubt they will last very long in the house.

Disclaimer: I am not a photographer by any means. And I only have an iPhone 8 as a camera, so please bare with me on the sub-par photos.

Cheers!

Recipe #1 – Homemade Applesauce

Yesterday was the first of many recipes on this very long journey. For my first recipe I felt strongly that I wanted it to be one from Ina’s first cookbook, The Barefoot Contessa Cookbook. So, I got it off the shelf and started paging through it. However, I quickly realized a slight problem. Many of the recipes called for ingredients that are “fresher” and “in season” during the summer months.

Now, yes, it is technically still summer (at least until Tuesday!), and I could (in theory) get some of these items now. But doing so I would break one of Ina’s cardinal rules: always use the freshest ingredients possible. So I continued on paging through the book until I stumbled upon an applesauce recipe.

With Fall just around the corner, apples are starting to come in season here in New England and the ones this recipe calls for tend to be “always in season.” So that is what I decided to make.

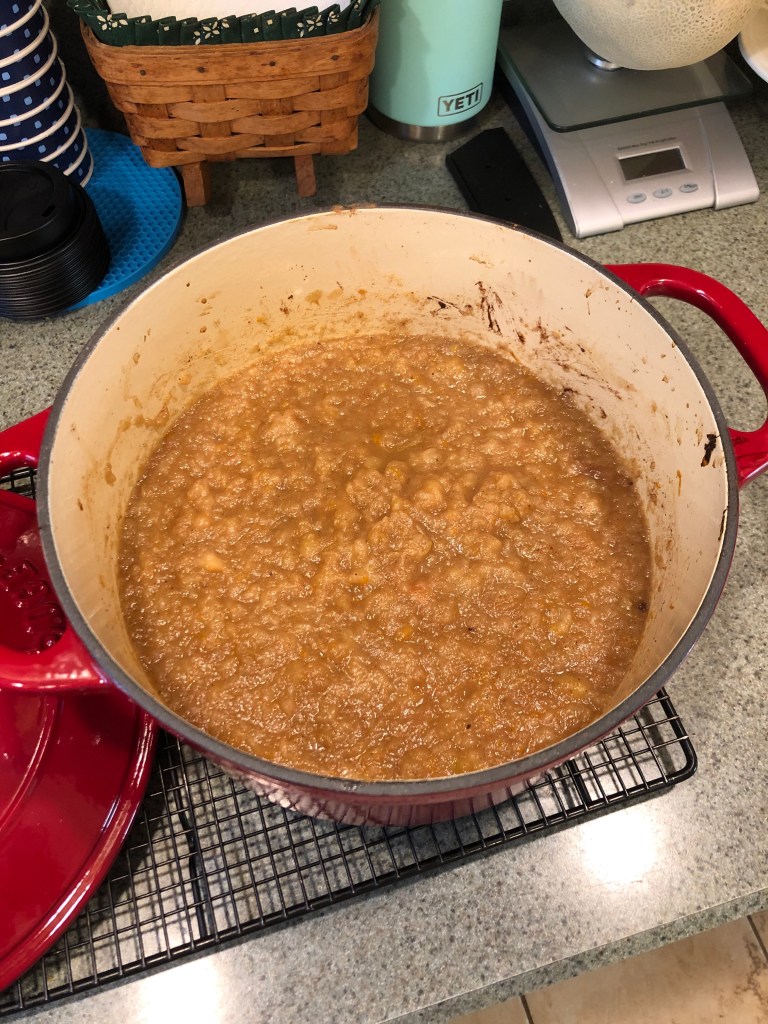
Her apple sauce recipe is overall quite easy to make. The most annoying aspect was peeling the apples (I had 14 to do!), but it was totally worth the effort. The addition of butter in the pot makes the sauce smooth and helps layer some of the spices included. The added lemon juice and orange zest give it an especially interesting taste. In fact, one of my first thoughts after tasting it was “This tastes like gourmet.”

I also love any excuse to break out my Dutch oven and since the apples cooked for 90 minutes in it, it’s starting to move beyond being used only to make bread.

1 recipe down, 1,055 to go!